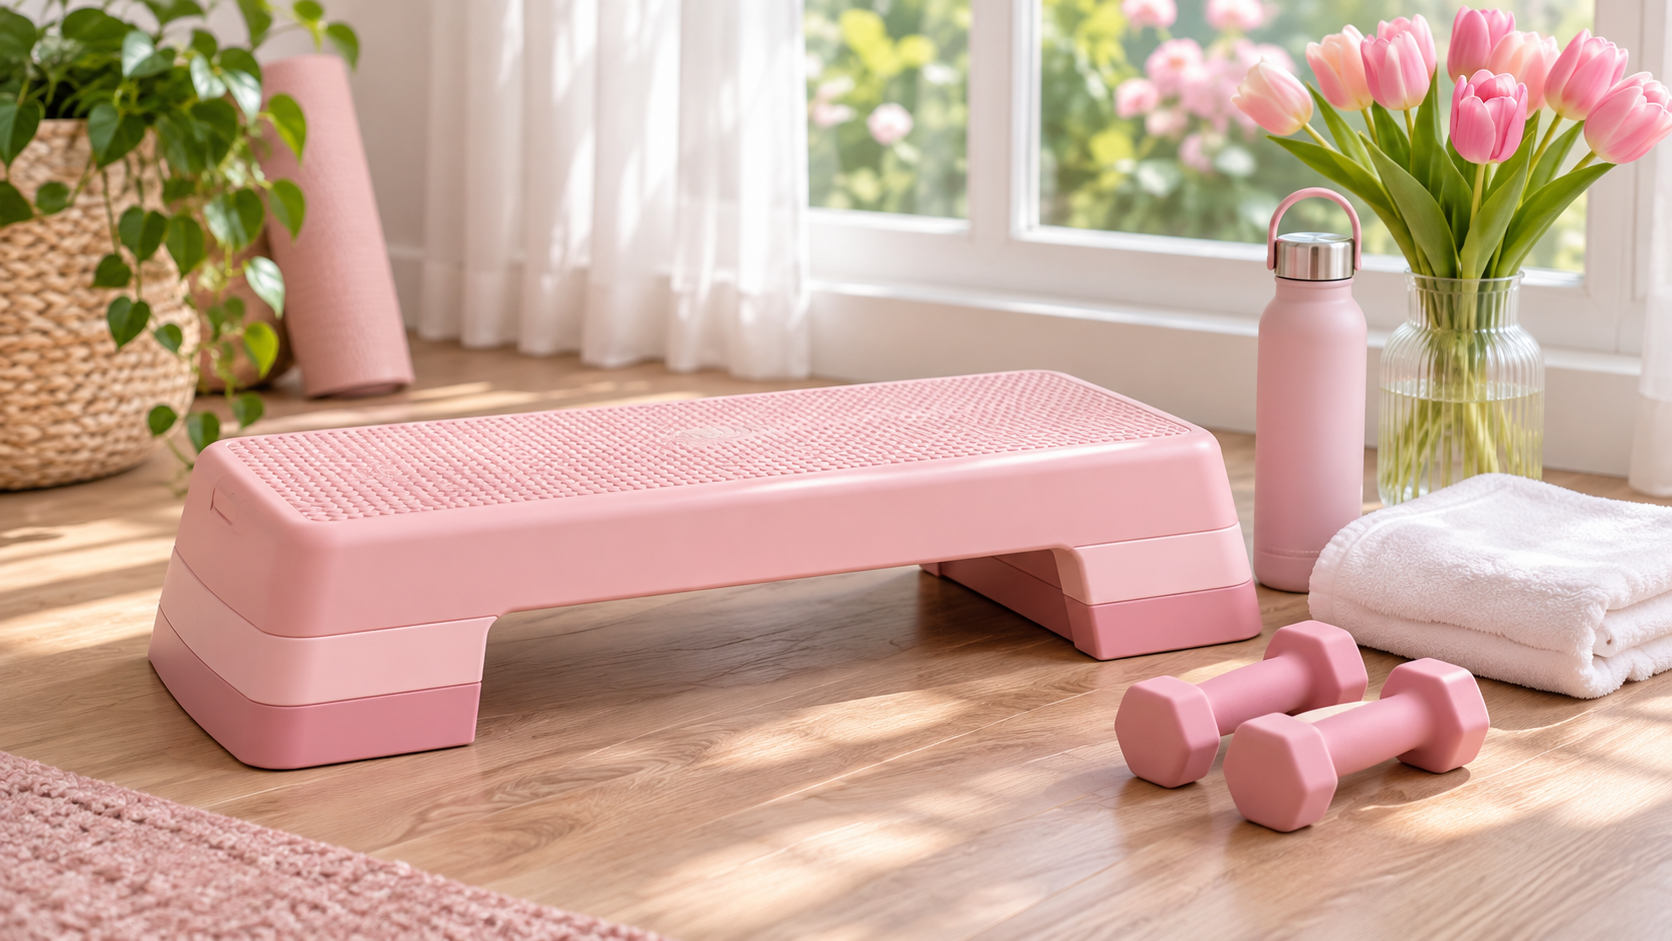
You do a step-up every time you climb a flight of stairs, get onto a curb, step into a bathtub or hike up a hill. It’s one of the most natural movements there is, which is exactly what makes the step-up such a useful exercise.
Step-ups train one leg at a time, so they build strength in your glutes and quads while also challenging your balance. All you need is a sturdy step, a bench or the bottom stair in your house. They’re easy to scale, too: start with a low step and no weight, then work up to a higher box and dumbbells as you get stronger.
Like any exercise, though, there are a few common habits that take the work away from the leg you’re trying to train. This guide covers how to choose your step, how to drive up and come down with control, what the research says and how to fit step-ups into your week.
A quick note: This guide is general fitness information from coaches, not medical advice. If you have knee, hip or back pain, balance concerns, or are pregnant or newly postpartum, check in with your healthcare provider or a physical therapist before adding new strength work.
The short answer
- 🪜What it isStepping up onto a box
Place one foot on a sturdy step and drive through it to stand tall on top.
- 🎯MusclesGlutes and quads
Plus hamstrings, calves and the small hip muscles that keep you balanced.
- 📐Key detailLet the top leg work
Drive through your whole top foot instead of pushing off the bottom one.
- 👆Start hereLow step, no weight
A bottom stair or low bench is plenty while you learn the movement.
Watch it first
For this one, we’re sharing a tutorial from Runna, a running coaching app with personalized plans for runners at every level. The video is led by Runna’s Head Coach, Ben Parker, a professional running coach and personal trainer who works with runners from beginners to elite ultra athletes. It’s part of Runna’s series covering popular strength exercises, and it shows the step-up with clear form and technique.
Watch it once all the way through, then again while paying attention to the way down. The lowering half of a step-up is where a lot of the strength and control is built.
Why step-ups are worth it
- Real-life strength. Stairs, curbs, hills and getting up onto a stool all use the same pattern.
- One leg at a time. Training each side on its own helps even out differences between your legs.
- Balance built in. Standing on one leg at the top challenges the small muscles around your hips and ankles.
- Easy to scale. Change the step height, add weight or slow the tempo to make it harder or easier.
- Home friendly. The bottom stair of your staircase works perfectly.
- Great for walkers and runners. Stronger glutes and quads support every hill you climb.
- Strength as you age. Climbing stairs with confidence is a big part of staying independent.
Whole foot on the step, drive through the top leg, stand tall, then come down slowly.
Muscles worked
| Muscle | Where it is | What it does in the step-up |
|---|---|---|
| Quadriceps | The front of your thigh | Straighten your knee as you drive up |
| Gluteus maximus | Your seat | Extends your hip as you stand tall |
| Gluteus medius | The side of your hip | Keeps your pelvis level and your knee tracking straight |
| Hamstrings | The back of your thigh | Help extend your hip |
| Calves | The back of your lower leg | Steady your ankle and help you balance |
| Core | Your trunk | Keeps you upright and steady on one leg |
What the research says
Several studies have looked at what step-ups do for your muscles and everyday strength.
Step-up variations work your muscles differently
A study from Marquette University, published in the Journal of Strength and Conditioning Research in 2012, compared four versions of the loaded step-up: the regular step-up, crossover step-up, diagonal step-up and lateral step-up. The participants were 15 women who regularly did lower body resistance training, and each version was done with heavy loads on an 18 inch box. The researchers measured activity in the glutes, hamstrings and quads, and found a variety of differences between the four versions. In other words, changing the direction you step in changes which muscles get the most emphasis, which is a good reason to rotate through a few variations.
Strong glute activity
In a small study of people with hip osteoarthritis that measured glute activity during squats, step-ups and step-downs, the researchers concluded that the step-up was the most effective of the three for activating the glutes. It’s one study with a specific group, so take it as encouraging rather than the final word.
Step height matters
Researchers studying older adults compared stepping exercises with machine-based strength training. They found that most upper leg muscles worked as hard or harder during the stepping exercises as during machine exercise at 60% of a one-rep max. Lateral stepping onto a 30 cm (about 12 inch) step showed the highest training potential of the variations they tested.
Stairs build power
A trial from Belgian researchers compared stair-climbing exercise with machine-based resistance training in 46 older adults, around 71 years old on average, who trained twice a week for 12 weeks. Both programs improved muscle power and everyday function, and the stair group gained more in stair-climbing performance.
The takeaway: step-ups are a practical, low-equipment way to build the leg strength and power you use every day.
Choosing your step
The height of your step makes a big difference in how hard the exercise feels and which muscles work hardest.
| Step height | Roughly | Good for |
|---|---|---|
| Low | A single stair, about 6 to 8 inches | Beginners, balance work and returning from a break |
| Medium | A low bench or aerobic step with risers, about 12 inches | Building strength once low steps feel easy |
| Higher | A step where your knee is about level with your hip | More glute and hip work, once you’re confident |
A good rule of thumb: when your foot is on the step, your knee shouldn’t rise above your hip. If you have to lean far forward or push off your back foot to get up, the step is too high for now.
Whatever you use, make sure it’s sturdy, flat and doesn’t slide. A bench against a wall or the bottom stair of a staircase are both great choices. Avoid wobbly chairs, stools on wheels or anything that tips.
How to do a step-up, step by step
- Set up. Stand facing your step, about a half step away, with your feet hip-width apart.
- Place your foot. Put your whole right foot flat on the step, with your heel fully on the surface.
- Lean slightly forward. Bring your chest a little forward over your front foot, keeping your back long.
- Drive up. Breathe out and press through your whole right foot to straighten your knee and hip, standing tall on top.
- Stand tall. At the top, your right leg is straight and your hips are level. Bring your left foot up beside it, or keep it lifted for a balance challenge.
- Step down with control. Breathe in and slowly lower your left foot back to the floor, keeping your weight on your right leg as long as you can.
- Repeat. Do all your reps on one leg, then switch.
Your quick form checklist
- FootWhole foot flat on the step, heel fully on.
- KneeTracking in line with your middle toes, not caving in.
- HipsLevel, not hiking or dropping to one side.
- ChestSlightly forward, back long and neutral.
- DriveThrough the top leg, not a push from the bottom foot.
- TopStanding fully tall, leg straight but not snapped back.
- LoweringSlow and controlled, two to three counts.
- BreathOut on the way up, in on the way down.
Don’t skip the way down
Many people think of the step-up as all about getting up onto the box. But the lowering half, when your working leg slowly bends to let your other foot reach the floor, is just as valuable. This is where your muscles work while lengthening, which builds strength and control.
It’s also the part that carries over most to real life. Walking down stairs and down hills asks your muscles to control you on the way down, and that’s often where people feel unsteady.
- Count it. Take two to three seconds to lower.
- Tap, don’t drop. Let your toes touch down lightly rather than landing heavily.
- Stay on the working leg. Keep your weight on the step foot until the very end.
- Try a step-down. Once you’re confident, standing on the step and slowly lowering one foot toward the floor is a great exercise in its own right.
Common mistakes and how to fix them
1. Pushing off the bottom foot
This is the most common one. Shoving off the floor with your back foot means the top leg does far less work. The fix: Lift your bottom toes slightly, or think about letting the back foot “float.” If you can’t get up without pushing off, use a lower step.
2. Only part of the foot on the step
Standing on your toes or with your heel hanging off is unstable and puts more stress on your knee. The fix: Place your whole foot flat on the step.
3. Knee caving in
Letting your knee drift toward the middle of your body is common, especially as you get tired. The fix: Keep your knee in line with your middle toes, and lower the step height or weight if it keeps happening.
4. Hips tipping
Letting one hip drop or hike up means the side hip muscles aren’t doing their job. The fix: Imagine your hips are a bowl of water you don’t want to spill.
5. Step too high
A box that’s too tall forces you to lean and twist to get up. The fix: Start low. Your knee shouldn’t be above your hip.
6. Dropping on the way down
Falling back to the floor skips half the exercise and is hard on the joints. The fix: Lower slowly for two to three counts.
7. Rounding forward
A small forward lean is good, but folding over or rounding your back isn’t. The fix: Keep your chest proud and your back long.
8. Not standing all the way up
Stopping halfway misses the glute work at the top. The fix: Stand fully tall on top of the step before you come down.
Tips if your balance feels shaky
Feeling wobbly is completely normal, especially at first. Balance improves quickly with practice.
- Use a hand for support. Hold a railing, wall or sturdy countertop. There’s no shame in it, and it lets your legs work harder.
- Lower the step. A lower step is much easier to balance on.
- Fix your gaze. Look at a spot on the floor a few feet ahead or a point on the wall.
- Slow down. Rushing makes balance harder. Pause briefly at the top.
- Bring both feet up. Placing both feet on the step at the top is more stable than holding one leg in the air.
- Hold weights by your sides. When you add weight, dumbbells at your sides are more stable than a weight held in front.
Adding weight
Once you can do 12 to 15 smooth, controlled reps per leg without pushing off your back foot, you’re ready to make it harder.
- Slow it down first. Try a three-second lowering before you add weight.
- Add light dumbbells. Hold one in each hand at your sides. Many women start with 5 to 10 pounds each.
- Try a goblet hold. Holding one dumbbell at your chest, like a goblet squat, keeps you upright.
- Raise the step. Gradually move to a higher step once you’re strong and steady.
- Aim for “two or three left.” A good working weight leaves two or three good reps in the tank.
Variations to try
| Variation | How it’s different | Good for |
|---|---|---|
| Bodyweight step-up | No weight | Learning the movement |
| Dumbbell step-up | Dumbbells held at your sides | Building strength |
| Goblet step-up | One dumbbell at your chest | Staying upright |
| Lateral step-up | Stepping up sideways | Side hip and quad work |
| Crossover step-up | Stepping across your body onto the box | Hip strength and variety |
| Step-up with knee drive | Driving the back knee up at the top | Balance, power and runners |
| Step-down | Slowly lowering from the step | Control and knee strength |
| Slow tempo step-up | Three counts up, three counts down | More challenge without more weight |
Step-ups, lunges and split squats
Step-ups belong to the same family of single-leg exercises as lunges and split squats. They all train one leg at a time, but each feels a little different.
| Exercise | What it’s like | Best for |
|---|---|---|
| Step-up | Climbing up and lowering down | Stairs, hills and everyday strength |
| Reverse lunge | Stepping back and lowering your knee | Knee-friendly leg work and balance |
| Bulgarian split squat | Back foot on a bench, lowering straight down | A bigger strength challenge |
If you’re working through our series, see our guides to reverse lunges and the Bulgarian split squat. Rotating between them keeps your leg days interesting.
Knee and hip comfort
- Start low. Lower steps are easier on your knees.
- Warm up. A few minutes of walking, marching in place or bodyweight squats prepares your joints.
- Watch your knee. Keep it lined up with your toes.
- Lower slowly. A controlled descent is gentler than dropping.
- Wear stable shoes. Flat, supportive shoes or bare feet on a non-slip step help you feel grounded.
- Progress gradually. Raise the step or add weight in small jumps.
Stop if you feel sharp pain in your knee, hip or back, a feeling that your knee is giving way, pain that travels down your leg, dizziness or a near fall, or pain that lingers or gets worse after training. Check in with your healthcare provider or a physical therapist before continuing. Muscle burn during the set and mild soreness the next day are normal; sharp or worsening pain is not.
How to add step-ups to your week
The American College of Sports Medicine’s 2026 guidelines recommend training all your major muscle groups at least twice a week, and emphasize that the biggest benefit comes from simply doing some strength training at all. Step-ups work well as a main leg exercise or a finisher. Here’s an example of how they could fit in. Treat it as a sample, not a prescription:
- BeginnerTwo full body days. Bodyweight step-ups on a low step: 2 sets of 8 to 10 per leg.
- BuildingTwo or three days. Dumbbell step-ups: 3 sets of 8 to 12 per leg, with a slow lowering.
- StrongerTwo leg days. Step-ups on a higher box: 3 sets of 6 to 10 per leg, plus lateral step-ups.
A simple leg session might look like this example:
- Goblet squats: 3 sets of 10
- Step-ups: 3 sets of 10 per leg
- Romanian deadlifts: 3 sets of 10
- Glute bridges: 2 sets of 15
Pregnancy and postpartum
The American College of Obstetricians and Gynecologists encourages women with uncomplicated pregnancies to do both aerobic and strength-conditioning exercise before, during and after pregnancy, with their provider’s guidance. Step-ups can be a useful part of that, with a few adjustments as your body changes.
- Get the green light first. Talk with your provider before starting or continuing strength training during pregnancy or after birth.
- Keep the step low. Your balance shifts during pregnancy, so a low step is safer.
- Hold on. Use a railing or wall for support every time.
- Skip the heavy weights. Bodyweight or light dumbbells are plenty.
- Breathe. Exhale as you step up and avoid holding your breath.
- Postpartum, start gently. If you notice leaking, pelvic heaviness or pain, lower the step and check in with a pelvic floor physical therapist.
Our guide to postpartum exercise and where to start has more gentle first steps.
What you need
The bottom stair of a staircase works perfectly. If you’d like a dedicated step, here are some options to compare. These are general Amazon searches, not specific product picks. We don’t earn anything from these links.
- An aerobic step with adjustable risers. Search aerobic steps
- A sturdy plyo box for higher steps. Search plyo boxes
- Dumbbells for adding weight. Search dumbbell sets
- Non-slip mat for under your step. Search non-slip mats
Myths
- Myth #1What you’ve heard
“Step-ups are too easy to build strength.”
The truthWith the right step height, weight and tempo, step-ups are a serious leg exercise.
- Myth #2What you’ve heard
“Higher is always better.”
The truthA step that’s too high leads to pushing off and leaning. Go only as high as you can control.
- Myth #3What you’ve heard
“Holding onto something is cheating.”
The truthLight support helps you balance so your legs can work harder.
- Myth #4What you’ve heard
“Step-ups are bad for your knees.”
The truthWith a sensible step height and good alignment, step-ups help build the strength that supports your knees.
- Myth #5What you’ve heard
“The work is all in the way up.”
The truthThe slow way down builds strength and control too.
The bottom line
The step-up is a simple, practical exercise that builds the strength you use every day. Choose a sturdy step at a height you can control, place your whole foot on it and drive through your top leg to stand tall. Then lower slowly, keeping your knee in line with your toes and your hips level.
Start low and without weight, use support whenever you need it and build from there. Every stair, curb and hill gets a little easier.
Sources
- Runna: Step Up Tutorial, Proper Form and Technique (video, 2024)
- Runna
- Simenz and colleagues: Electromyographical analysis of lower extremity muscle activation during variations of the loaded step up exercise (Journal of Strength and Conditioning Research, 2012)
- BMC Proceedings: Gluteal muscle activation during squat, step-up and step-down
- Weight-bearing stepping exercise versus resistance exercise: muscle activation by step height and direction (European Journal of Applied Physiology)
- Van Roie and colleagues: Stair-climbing versus machine-based resistance exercise in older adults (Journal of Strength and Conditioning Research)
- American College of Sports Medicine: 2026 resistance training guidelines
- McMaster University via Medical Xpress: Train all major muscle groups at least twice a week
- ACOG Committee Opinion 804: Physical activity and exercise during pregnancy and the postpartum period
This article is for general information and isn’t medical advice. If you have pain, an injury, a health condition, or are pregnant or postpartum, talk with your healthcare provider or a physical therapist before starting a new exercise.
- Strength training
- Legs
- Glutes
- Balance
- At-home workouts
Find your strength. Find your girls.
Want someone to check your form and build a plan around your life? Tell us a little about where you are, and we’ll reply within two business days with coaching, circles and walk clubs near you.
Questions
Good questions.
What muscles do step-ups work?
Mainly your quads and glutes, with help from your hamstrings, calves, the side hip muscles and your core for balance.
How high should my step be?
Start with a single stair, about 6 to 8 inches. As you get stronger, go higher, but keep your knee no higher than your hip when your foot is on the step.
Should my leg straighten fully at the top?
Yes, stand all the way up so your hip and knee are straight and you’re tall on top of the step. Just straighten smoothly instead of snapping your knee back.
Should I alternate legs or do one side at a time?
Either works. Doing all your reps on one leg first keeps the work focused on that leg. Alternating is fine for lighter, more cardio-style sets.
Are step-ups good for bad knees?
Many people find low step-ups comfortable, and they help build the muscles that support your knees. If you have knee pain or an injury, check in with a physical therapist first.
Can I do step-ups on my stairs at home?
Yes. The bottom stair is a perfect starting height, and the railing gives you something to hold.
 Fitness
 Fitness