Push-ups for beginners: form and progressions
How to build up to a full push-up from wherever you’re starting: wall, counter, incline, knee and full push-ups, the form cues that protect your shoulders, what the research says and a simple plan to get stronger week by week.
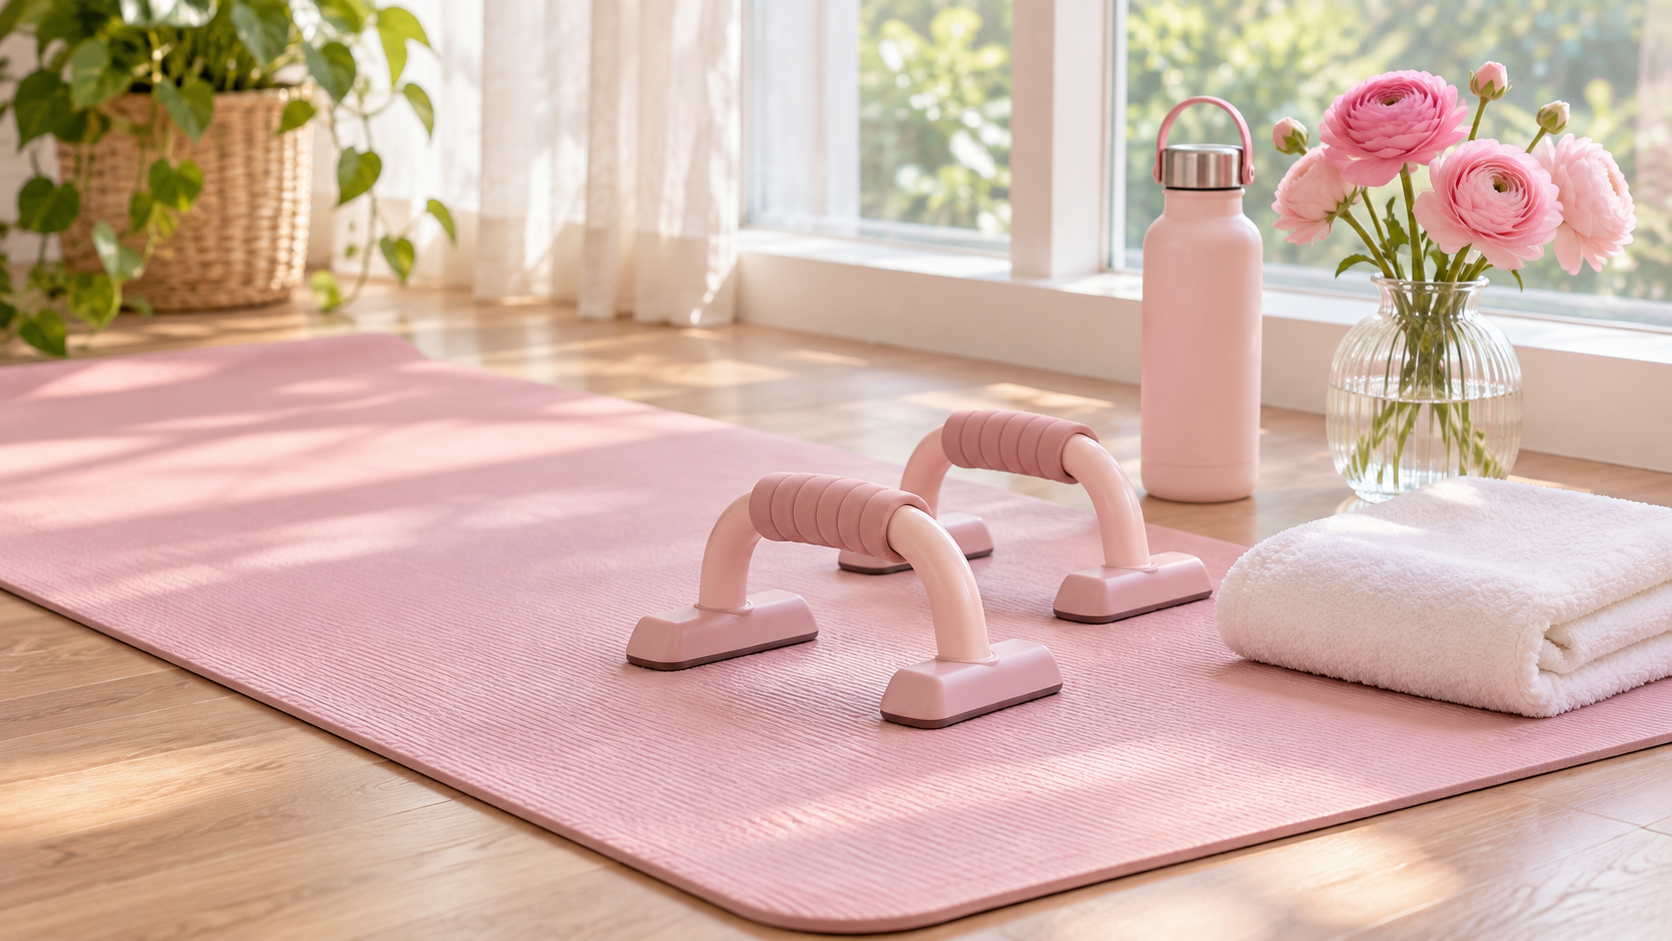
If you’ve ever told yourself you “just can’t do push-ups,” this guide is for you. Maybe it’s a memory from gym class, or the first time you tried one in a workout video and ended up face down on the mat. Here’s the truth: push-ups are a skill, and like any skill, they can be learned one small step at a time.
The secret is starting at the right level. A push-up against a wall or a kitchen counter uses the exact same movement as a push-up on the floor, just with less of your body weight to lift. As you get stronger, you lower your hands, little by little, until one day the floor is where you’re working.
This guide walks you through every rung of that ladder, the form cues that keep your shoulders and wrists happy, what the research says and a simple six-week plan you can start today.
A quick note: This guide is general fitness information from coaches, not medical advice. If you have shoulder, wrist, elbow or back pain, or are pregnant or newly postpartum, check in with your healthcare provider or a physical therapist before adding new strength work.
The short answer
- 💪What it isPressing your body away
From a plank position, lower your chest toward your hands and push back up.
- 🎯MusclesChest, shoulders, triceps
Plus your core, which holds you in a straight line.
- 📐Key detailOne straight line
Head, shoulders, hips and knees or heels move together as one.
- 🪜Start hereHands up high
Wall or counter push-ups are real push-ups, and the perfect place to start.
Watch it first
We love this tutorial from Lindsay Bushman of Pilates On Demand. It’s a thorough, encouraging walkthrough that starts with alignment tips and then moves through every level: wall push-ups, incline push-ups using a chair, knee push-ups, modified plank push-ups, full push-ups on your toes and decline push-ups for advanced strength. Her message is that it’s not about perfection, it’s about progress, which is exactly our kind of coaching.
The video is about 19 minutes long and has chapters, so you can jump straight to the level you’re working on. Watch the form tips at the start first, though. They apply to every version.
Why push-ups are worth it
- No equipment. A wall, a counter or the floor is all you need.
- Everyday pushing strength. Pushing a heavy door, a loaded cart or yourself up off the floor all use the same muscles.
- Core strength too. A push-up is really a moving plank, so your core works the whole time.
- Easy to scale. Raise or lower your hands to make it easier or harder.
- Great triceps work. In an ACE-sponsored study, push-ups with the hands close together produced the most triceps activity of eight exercises tested.
- Getting up and down. Being able to lower yourself to the floor and press back up matters at every age.
- A confidence boost. Watching your hands get lower over the weeks is real, visible progress.
Start where you are. A wall push-up done well beats a floor push-up done badly.
Muscles worked
| Muscle | Where it is | What it does in the push-up |
|---|---|---|
| Chest (pectorals) | The front of your upper body | Press your body away from your hands |
| Front shoulders | The front of your shoulder | Help press and steady your arms |
| Triceps | The back of your upper arm | Straighten your elbows |
| Serratus anterior | Along your ribs, under your arms | Keeps your shoulder blades against your ribs |
| Core | Your stomach and trunk | Holds your body in a straight line |
| Glutes | Your seat | Stop your hips from sagging |
What the research says
Raising your hands really does make it easier
A study published in the Journal of Strength and Conditioning Research in 2011 measured how much force goes through your hands during different push-up variations. The researchers tested 23 recreationally fit young adults, 14 men and 9 women, on a force platform.
Push-ups with the hands raised and push-ups from the knees both produced less force than the other variations. Push-ups with the feet raised produced more. With the hands up on a box about 2 feet high, the force was equal to about 41% of body weight, making it the easiest version tested. With the feet up on a box of the same height, it was about 74%, the hardest.
That’s the science behind the push-up ladder: every time you lower your hands, you’re lifting a little more of your body weight. It’s a built-in way to make steady, measurable progress.
Push-ups and heart health
A Harvard study published in JAMA Network Open in 2019 followed 1,104 male firefighters, average age around 40, for 10 years. The men who could do more than 40 push-ups at the start had a 96% lower risk of cardiovascular disease events than those who could do fewer than 10. Even being able to do 11 or more was linked with lower risk.
There’s an important caveat: the study only included active, middle-aged men, and the authors note the results may not apply to women. It shows a link, not proof that push-ups protect your heart. Still, it’s a good reminder that upper body strength is part of overall fitness. Don’t worry about the number 40. What matters is that you’re building strength from where you are.
The form basics
These cues apply to every version of the push-up, from the wall to the floor.
- Hands under your shoulders. Or just slightly wider, with your fingers spread and pointing forward.
- One straight line. From the top of your head to your heels (or knees), your body moves as one solid piece.
- Gentle core brace. Draw your belly button slightly in and squeeze your glutes.
- Elbows at about 45 degrees. Not flared straight out to the sides like a T, and not glued to your ribs. Think of an arrow shape, not a T.
- Neck long. Look at the floor (or wall) a little ahead of your hands, not up and not tucked.
- Chest leads. Lower your chest toward your hands, not your chin or your hips.
- Push the floor away. At the top, press firmly so your upper back feels full rather than sinking between your shoulder blades.
The progression ladder
Each rung uses the same push-up form. Only the height of your hands (or where you balance) changes.
| Level | Version | How to do it |
|---|---|---|
| 1 | Wall push-up | Hands on a wall at shoulder height, feet a step or two back |
| 2 | Counter push-up | Hands on a kitchen counter or sturdy table |
| 3 | Incline push-up | Hands on a sturdy chair seat, bench or stair |
| 4 | Knee push-up | On the floor, balancing on your knees with a straight line from head to knees |
| 5 | Lower-only push-up | From a full plank, lower slowly to the floor, then come back up on your knees |
| 6 | Full push-up | On your hands and toes, body in one straight line |
| 7 | Decline push-up | Feet raised on a step or bench, for advanced strength |
A tip on knee push-ups: some people find incline push-ups with a low surface, like a stair, feel more like a full push-up than knee push-ups do, because your body is in a full plank. Both are great. Many coaches like to use both, so try each and see which helps you most.
Chair safety
If you’re using a chair for incline push-ups, choose a heavy, sturdy one without wheels, and push the back of it against a wall so it can’t slide. A bench or the stairs are even more stable.
A full push-up, step by step
These steps describe a push-up on the floor, but they’re the same on a wall, counter or step.
- Set your hands. Place your hands slightly wider than your shoulders, fingers spread.
- Make your plank. Step your feet back so your body forms one straight line from head to heels.
- Brace. Gently tighten your stomach and squeeze your glutes.
- Lower. Breathe in as you bend your elbows to about 45 degrees and lower your chest toward the floor, over two to three counts.
- Go as low as you can control. Ideally until your chest is a few inches from the floor.
- Press. Breathe out as you push the floor away and straighten your arms, keeping that straight line.
- Reset. Check your line before your next rep.
Your quick form checklist
- HandsUnder or slightly wider than your shoulders, fingers spread.
- ElbowsAbout 45 degrees from your body.
- HeadIn line with your spine, looking slightly ahead.
- ShouldersAway from your ears.
- CoreGently braced.
- HipsIn line, not sagging or piking up.
- LoweringSlow and controlled, chest leading.
- BreathIn on the way down, out on the way up.
Common mistakes and how to fix them
1. Sagging hips
When your hips drop toward the floor, your lower back takes the strain. The fix: Squeeze your glutes and brace your core. If you can’t hold the line, raise your hands to an easier level.
2. Hips piked up
Sticking your bottom in the air makes the push-up easier but takes your core and chest out of it. The fix: Lower your hips into a straight line. A mirror or a phone video helps.
3. Elbows flared out wide
Elbows pointing straight out to the sides can strain your shoulders. The fix: Tuck your elbows to about 45 degrees.
4. Head dropping
Reaching for the floor with your chin or letting your head hang means you aren’t really moving your body. The fix: Keep your neck long and lead with your chest.
5. Tiny reps
Only bending your elbows a little skips most of the work. The fix: Move to an easier level where you can go through a fuller range.
6. Rushing
Dropping quickly and pushing back up fast makes it easy to lose form. The fix: Lower over two to three counts.
7. Starting too hard
Struggling with floor push-ups before you’re ready often leads to poor form and frustration. The fix: Start at the wall or counter and earn your way down.
8. Holding your breath
The fix: Breathe in on the way down and out as you push up.
Finding your starting point
The best level to start at is the hardest one where you can do 8 to 12 good-form reps. Here’s how to find it:
- Start at the wall. Do 10 wall push-ups. If they feel easy, move down a level.
- Try the counter. If you can do 10 with good form, move down again.
- Try a chair or stair. Keep going until you find a level where 8 to 12 reps feel challenging but doable.
- That’s your level. Start your training there, even if you could squeeze out a couple of messy reps lower down.
A sample 6-week progression plan
Here’s an example plan to guide your progress. It’s a sample, not a prescription. Everyone moves at a different pace, so repeat a week as many times as you need.
- Week 1Your starting level. 2 sets of 8 reps, 2 to 3 times a week.
- Week 2Same level. 3 sets of 8 to 10 reps.
- Week 3Same level. 3 sets of 10 to 12 reps, with a slow 3-count lowering.
- Week 4Move down a level. 2 to 3 sets of 6 to 8 reps.
- Week 5New level. 3 sets of 8 to 10 reps.
- Week 6New level. 3 sets of 10 to 12 reps. Ready for the next rung when these feel strong.
Rest a day between push-up sessions so your muscles can recover. If you’re ever not sure whether to move down a level, stay where you are another week. There’s no rush.
Hand position and variations
| Variation | How it’s different | Good for |
|---|---|---|
| Standard | Hands slightly wider than shoulders | Overall chest, shoulder and triceps strength |
| Wide | Hands wider apart | More chest emphasis |
| Close-grip | Hands about shoulder-width, elbows close to your sides | More triceps work |
| Triangle (diamond) | Hands together under your chest, fingers forming a triangle | Maximum triceps work; quite challenging |
| Slow tempo | Three counts down, three counts up | More challenge without changing levels |
| Push-up hold | Pausing halfway down | Strength in the hardest part |
Our post on tricep kickbacks covers the ACE research on triangle push-ups in more detail.
Little ways to practice during your day
Because the easier levels need nothing but a wall or a counter, push-ups are one of the simplest exercises to sneak into everyday life. These short bursts aren’t a replacement for your main sessions, but they’re a lovely way to practice the movement and build confidence.
- While the kettle boils. Do 8 to 10 counter push-ups while you wait for your tea or coffee.
- Before your shower. A quick set of wall push-ups in the bathroom.
- On the stairs. Each time you pass the staircase at home, do 5 slow incline push-ups with your hands on a step.
- With your kids. Turn it into a game and count each other’s reps.
- Plank practice. Holding a strong plank for 20 to 30 seconds builds the straight body line every push-up needs.
Keep these mini sets easy, well below your limit, so they leave you feeling good rather than tired. Save your harder efforts for your two or three main sessions each week, and give yourself credit for every rep along the way.
Wrist and shoulder comfort
- Warm up your wrists. Gentle wrist circles and a few wall push-ups get your joints ready.
- Spread your fingers. Pressing through your whole hand, not just the heel, takes pressure off your wrists.
- Try fists or handles. Pushing up on your knuckles or on push-up handles keeps your wrists straight.
- Use a higher level. Wall and counter push-ups put much less load on your wrists.
- Keep elbows at 45 degrees to be kinder to your shoulders.
- Pad your knees with a folded mat or towel for knee push-ups.
Stop if you feel sharp pain in your shoulder, wrist, elbow or back, pain that travels down your arm, numbness or tingling in your hands, or pain that lingers or gets worse after training. Check in with your healthcare provider or a physical therapist before continuing. Muscle fatigue during the set and mild soreness the next day are normal; sharp or worsening pain is not.
How to add push-ups to your week
The American College of Sports Medicine’s 2026 guidelines recommend training all your major muscle groups at least twice a week, and emphasize that the biggest benefit comes from simply doing some strength training at all. Push-ups fit easily into a full body workout. Here’s an example upper body session. Treat it as a sample, not a prescription:
- Push-ups at your level: 3 sets of 8 to 12
- Dumbbell rows: 3 sets of 10 per arm
- Shoulder press: 2 sets of 10
- Tricep kickbacks: 2 sets of 12 per arm
Pairing push-ups with a pulling move like rows keeps the front and back of your upper body balanced. If you also want to load your chest with weights, see our guide to the dumbbell chest press.
Pregnancy and postpartum
The American College of Obstetricians and Gynecologists encourages women with uncomplicated pregnancies to do both aerobic and strength-conditioning exercise before, during and after pregnancy, with their provider’s guidance.
- Get the green light first. Talk with your provider before starting or continuing strength training during pregnancy or after birth.
- Move up the ladder. Wall and counter push-ups are comfortable options as your belly grows, and they put less pressure on your midline.
- Watch your belly. If you notice doming or coning along the middle of your stomach, raise your hands to an easier level.
- Breathe. Exhale as you push away and avoid holding your breath.
- Postpartum, start high. Begin at the wall and work down gradually. A pelvic floor physical therapist can help you check for abdominal separation.
Our guide to postpartum exercise and where to start has more gentle first steps.
What you need
Nothing but a wall to start. If you’d like a few extras for comfort, here are some options to compare. These are general Amazon searches, not specific product picks. We don’t earn anything from these links.
- A thick exercise mat for knee and floor push-ups. Search exercise mats
- Push-up handles to keep your wrists straight. Search push-up handles
- A knee pad or cushion for knee push-ups. Search knee pads
- An aerobic step for incline push-ups. Search aerobic steps
Myths
- Myth #1What you’ve heard
“Women can’t do push-ups.”
The truthPush-ups are a skill. With the right starting level and steady practice, anyone can build up to them.
- Myth #2What you’ve heard
“Wall push-ups don’t count.”
The truthThey use the same movement with less load. Every level is a real push-up.
- Myth #3What you’ve heard
“Knee push-ups are a waste of time.”
The truthDone with a straight line from head to knees, they build real strength.
- Myth #4What you’ve heard
“More reps are always better.”
The truthGood reps beat lots of sloppy reps. Quality builds strength.
- Myth #5What you’ve heard
“Push-ups are just for your arms.”
The truthThey work your chest, shoulders, triceps and core together.
The bottom line
Push-ups are one of the most useful upper body exercises there is, and they’re open to everyone. Start at the hardest level where you can do 8 to 12 good reps, whether that’s the wall, the counter or a stair. Keep your body in one straight line, your elbows at about 45 degrees and your lowering slow.
Every few weeks, lower your hands a little. It’s not about perfection, it’s about progress, and every rung of the ladder counts.
Sources
- Lindsay Bushman, Pilates On Demand: Push-Up Progression Tutorial, Beginner to Advanced (video, 2025)
- Pilates On Demand
- Ebben and colleagues: Kinetic analysis of several variations of push-ups
- Sci-Sport: Changes of resistance when performing several variations of push-ups
- Harvard T.H. Chan School of Public Health: Push-up capacity linked with lower incidence of future cardiovascular disease events among men (2019)
- Harvard Health Publishing: More push-ups may mean less risk of heart problems
- ACE: Sponsored research on the best triceps exercises
- American College of Sports Medicine: 2026 resistance training guidelines
- McMaster University via Medical Xpress: Train all major muscle groups at least twice a week
- ACOG Committee Opinion 804: Physical activity and exercise during pregnancy and the postpartum period
This article is for general information and isn’t medical advice. If you have pain, an injury, a health condition, or are pregnant or postpartum, talk with your healthcare provider or a physical therapist before starting a new exercise.
- Strength training
- Upper body
- Push-ups
- Bodyweight
- At-home workouts
Find your strength. Find your girls.
Want someone to check your form and build a plan around your life? Tell us a little about where you are, and we’ll reply within two business days with coaching, circles and walk clubs near you.
Questions
Good questions.
How do I start push-ups from scratch?
Start with wall push-ups and find the hardest level where you can do 8 to 12 good reps. Train 2 to 3 times a week, add a rep or a set each week, and lower your hands when 3 sets of 12 feel strong.
Should I add one push-up every day?
Daily challenges can be fun, but your muscles get stronger while they rest. Two to three sessions a week with a rest day in between is a more sustainable way to build up.
What muscles do push-ups work?
Mainly your chest, front shoulders and triceps, with your core and glutes holding your body in a straight line.
Are knee push-ups or incline push-ups better?
Both work. Incline push-ups keep you in a full plank, which many people find carries over well to floor push-ups. Knee push-ups are handy when you don’t have a sturdy surface. Use whichever lets you keep good form.
Why do push-ups hurt my wrists?
Bending your wrists back under load can be uncomfortable. Warm up, spread your fingers, try a higher level or use push-up handles. If pain continues, check in with a physical therapist.
How long until I can do a full push-up?
It depends on where you start. Some women get there in a couple of months, others take longer. Steady practice two to three times a week is what gets you there.
Keep reading
 Fitness
 Fitness